Picture this: you’ve just poured a fresh coat of paint, the tiles are sparkling, and the new acrylic wall gleams like a mirror. One misstep and that shine turns into a crack that screams “DIY disaster.” That’s the nightmare most homeowners in Simpsonville try to dodge.
Most people think acrylic is a set‑and‑forget solution, but the truth is it’s a finicky material that demands the right prep, the right seams, and the right installer. Skip the basics and you’ll be paying for repairs faster than you can say “budget overrun.”
Here in Simpsonville, the humidity and the occasional summer storm add extra pressure on those walls. Knowing how the local climate interacts with acrylic can be the difference between a bathroom you love and one you regret.
Ready to sidestep the common pitfalls and keep your remodel on track? Keep reading and discover the exact steps that turn a risky gamble into a flawless finish.
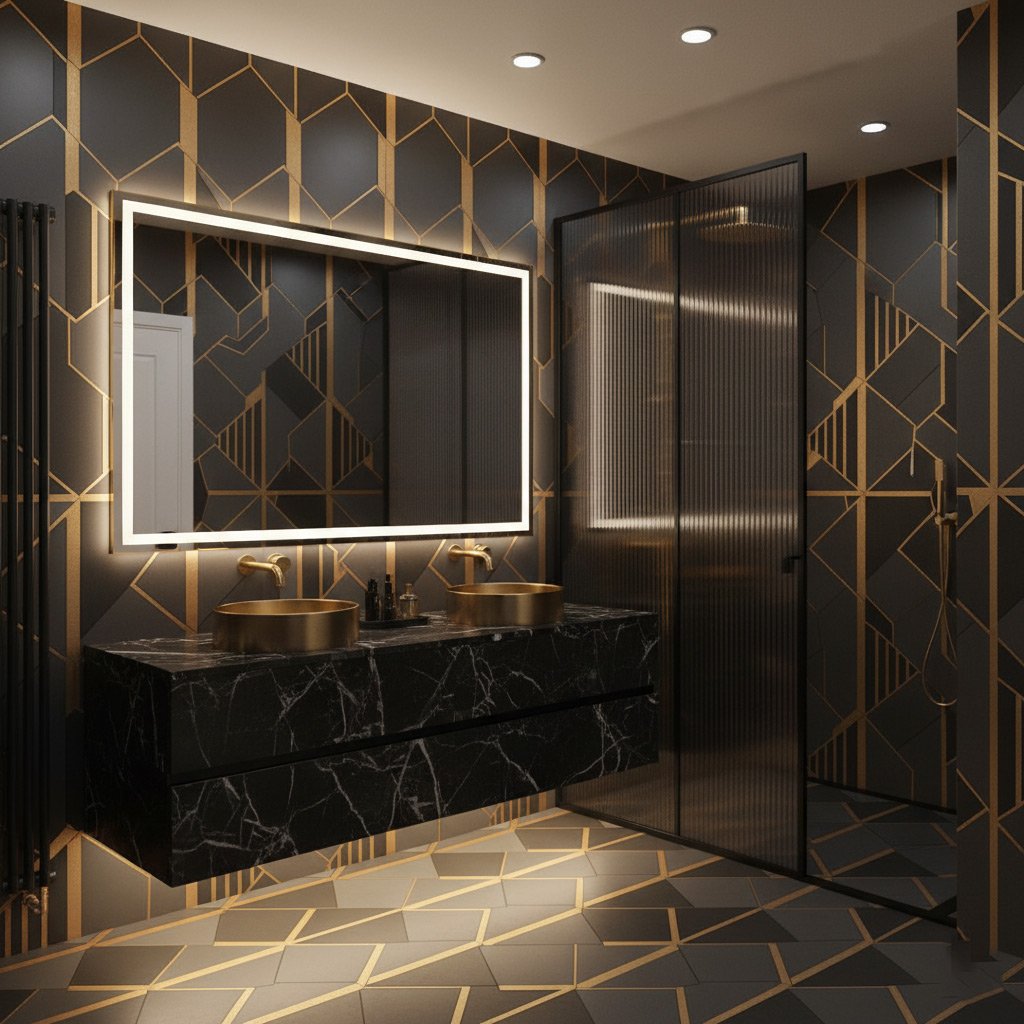
Why Acrylic Bath Walls Can Turn Into a Headache in Simpsonville
Simpsonville’s summer humidity isn’t just a comfort issue—it’s a silent aggressor that can pry at the seams of an acrylic wall faster than you can say “refinish.” When moisture seeps behind the surface, the material expands, contracts, and eventually cracks if it wasn’t installed with the right safeguards. That’s why a glossy finish today can become a costly repair tomorrow.
Most DIYers assume acrylic is a “set‑and‑forget” solution, but the truth is it’s a finicky partner that demands meticulous prep and flawless seams. Skipping a proper primer, ignoring the need for a moisture‑resistant backer, or hiring an installer who treats the job like a weekend project will bite you back with leaks and unsightly lines. Don’t let a shortcut become a budget nightmare.
Three Mistakes That Drain Your Wallet
- Using regular drywall as a substrate instead of a moisture‑blocking board.
- Neglecting to seal every joint with a high‑quality acrylic caulk.
- Relying on a contractor who doesn’t understand Simpsonville’s climate quirks.
Skip the Prep and Pay the Price
Why Prep Matters
Even the toughest acrylic can’t cling to a greasy, uneven wall. If the substrate isn’t clean, the adhesive will lift like a bad haircut. One slip now means a crack later.
Prep Checklist for Simpsonville Bathrooms
- Remove all soap scum, oil, and dust with a trisodium phosphate solution.
- Sand glossy tiles or painted surfaces to a matte finish; a 120‑grit pad does the trick.
- Apply a moisture‑resistant primer designed for acrylic—don’t skimp.
After the primer dries, run a fingertip test. If it feels tacky, you’re good to go. If it’s slick, you’ve missed a spot and the wall will rebel.
3. Bad Seams and Joint Mistakes
Even the toughest acrylic will crack if the seams aren’t glued correctly. A rushed joint leaves tiny gaps where water can seep, and in Simpsonville’s humid climate those gaps turn into mold faster than you can notice.
What a proper seam looks like
- Clean, dry surface before any adhesive is applied.
- Use a marine‑grade acrylic sealant, not the cheap bathroom caulk.
- Press the panels together firmly and wipe away excess within 30 seconds.
Skipping any of those steps is a shortcut that costs you later. The sealant needs time to cure, so keep the bathroom off‑limits for at least 24 hours.
Common joint errors to avoid
- Leaving a visible ridge – it’s a sign the sealant wasn’t smoothed out.
- Applying too much pressure – the acrylic can bow, creating stress points.
- Ignoring expansion gaps – acrylic expands with heat; a tight fit will pop.
When you follow the right sequence, the wall stays watertight and looks sleek. Miss a step, and you’ll be patching leaks instead of enjoying your new bathroom.
Improper Seaming & Joint Mistakes
Seam prep is non‑negotiable
Before the first acrylic panel meets the next, the surface must be spotlessly clean and perfectly flat. Even a hairline dust speck can become a crack line once the wall expands in Simpsonville’s humidity.
Wrong adhesive = quick regret
Many DIYers reach for the cheapest caulk, but acrylic demands a polyurethane‑based sealant that stays flexible. Apply a thin, even bead and let it cure at least 24 hours before exposing it to water.
- Use a sealant labeled “bathroom acrylic” or “marine grade.”
- Do not over‑fill joints; excess material shrinks and pulls the panels apart.
- Check the manufacturer’s temperature range – most acrylic won’t bond below 50°F.
Inspection isn’t optional
After the sealant sets, run a fingertip along every joint. Any unevenness or bubbles should be scraped and re‑filled immediately. A quick spot‑check now saves you a costly wall tear later.
5. Seal the Joints Properly – The Achilles Heel of Acrylic Walls
Even the slickest acrylic panel will look cheap if the seams betray you. In Simpsonville’s humid climate, a tiny gap can swell, crack, and let water sneak behind the wall faster than you can spot it. Getting the joint right the first time saves you from costly repairs and endless bathroom drama.
Step‑by‑step joint prep
- Clean and dry the mating edges – no dust, no soap residue.
- Apply a high‑quality acrylic primer to both surfaces; let it cure per the manufacturer’s timeline.
- Use a flexible, marine‑grade sealant designed for wet areas; a silicone‑based product works best.
- Press the sealant into the joint with a caulking tool, then smooth it with a wet finger or a plastic scraper.
- Allow at least 24 hours of undisturbed curing before exposing the wall to moisture.
Common mistakes to avoid
- Skipping the primer – the sealant won’t bond and will peel.
- Using a “quick‑dry” silicone – it becomes brittle under Simpsonville’s temperature swings.
- Rushing the cure time – water will ruin the bond before it sets.
6. Ignoring Proper Sealing and Joint Treatment
Why sealing matters in Simpsonville’s climate
Humidity swings and sudden summer downpours put extra stress on acrylic walls. If the seams aren’t sealed tight, water finds the tiniest gap and starts a slow, silent attack. One missed bead of sealant can turn a pristine bathroom into a leaky nightmare.
Common sealing slip‑ups
Homeowners often skip the primer, assuming acrylic will bond on its own. The result? A weak bond that peels under moisture. Another frequent error is using the wrong type of sealant—silicone that isn’t mold‑resistant will discolor and crack within months.
- Clean the joint thoroughly; any dust or soap residue ruins adhesion.
- Apply a high‑quality, mold‑inhibited silicone designed for bathrooms.
- Tool the bead smooth to push the sealant into the joint and eliminate air pockets.
What a pro does differently
A seasoned installer pre‑tapes the seams with painter’s tape, guaranteeing a crisp line and preventing excess sealant from spreading. They also double‑check the cure time, letting the silicone set fully before the first shower. That extra patience saves you from costly repairs down the road.
7. Verify the Installer’s Warranty and After‑Care
Before you sign the contract, ask for a written warranty that covers both the acrylic panels and the installation labor. A solid warranty is your safety net when Simpsonville’s humidity decides to test the seams.
Why Warranty Matters
- Protects you from hidden defects that may appear months later.
- Shows the installer stands behind their work.
- Gives you a clear path to repairs without extra cost.
Don’t just accept a vague “30‑day fix‑it” promise. Look for a warranty that lasts at least one year for the panels and two years for the workmanship. If the installer can’t provide specifics, walk away.
Ask about the after‑care service plan. Some companies offer a complimentary inspection after six months to catch early issues. That extra check can save you from costly water damage down the line. For more on choosing the right acrylic solution, see our Acrylic Bath Walls guide.
People Also Ask
What are the most common installation mistakes with acrylic bath walls?
Improper surface preparation, such as not cleaning or leveling the substrate, can cause poor adhesion. Using the wrong adhesive or insufficient caulking leads to gaps and water leakage.How can I prevent acrylic panels from cracking during a remodel?
Avoid overtightening fasteners and allow the panels to expand and contract with temperature changes. Use a flexible sealant at joints and follow the manufacturer’s recommended spacing.Is it necessary to hire a professional for acrylic bath wall installation in Simpsonville?
Professional installers have the tools and experience to ensure a watertight seal and proper alignment. DIY attempts often miss critical steps, resulting in costly repairs later.What maintenance practices keep acrylic bath walls looking new?
Clean with non‑abrasive cleaners and a soft cloth to prevent scratches. Regularly inspect caulking and reseal any gaps to maintain water resistance.Can acrylic bath walls be customized to match my bathroom design?
Yes, acrylic panels come in a variety of colors, textures, and finishes, allowing you to coordinate with tiles, fixtures, and décor. Custom prints and patterns are also available from many suppliers.Simpsonville Bathroom Remodel specializes in high‑quality bathroom renovations, drawing on over a decade of craftsmanship in the area. Based in Simpsonville, South Carolina, the team combines local knowledge with a commitment to personalized service, ensuring each project reflects the homeowner’s vision.
Need Bathroom Remodel?
We transform bathrooms into modern, functional spaces in just weeks, serving Simpsonville (29681) and nearby ZIPs 29662, 29644, 29651. Our streamlined process minimizes disruption and delivers quality results on schedule.
Get Bathroom Quote