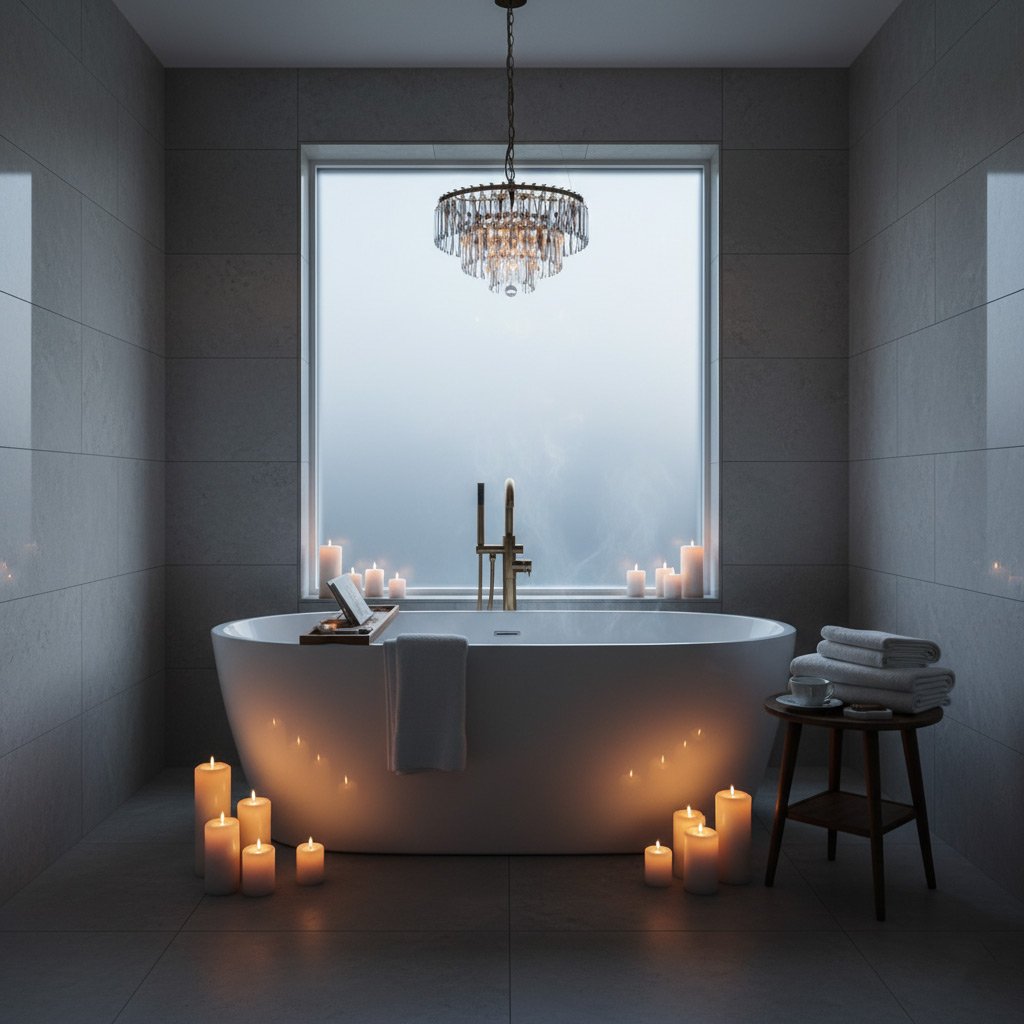
Picture this: you flip the switch, steam curls around you, and the water hits just the right temperature—like a personal retreat built into your Simpsonville home.
Old tile, leaky fixtures, and cramped space can turn a daily rinse into a chore. A fresh shower not only boosts curb appeal, it adds real value and makes every morning feel like a win.
What if you could follow a clear, step‑by‑step plan that takes the guesswork out of design, budgeting, and installation? From picking the perfect tile to sealing the final joint, we’ve mapped every move so you stay in control.
Ready to see how the process unfolds and avoid costly missteps? Keep reading and watch your dream shower come together, one smart decision at a time.
Assessing Your Space and Setting a Realistic Budget
First thing’s first – grab a tape measure, a notepad, and walk the bathroom like you’re scouting a new hunting ground. Note the length, width, and ceiling height, then mark any low‑hanging pipes, vent fans, or uneven walls that could bite you later. Those details are the difference between a smooth install and a nightmare.
Know Your Money Limits
Next, sit down with a calculator and decide how much you’re willing to spend before the excitement of tile samples pulls you in. A realistic budget protects you from surprise invoices and keeps the project moving forward. Break the total into chunks so you can see where to splurge and where to hold back.
- Demo & disposal: $500‑$1,200
- Shower base & waterproofing: $800‑$2,000
- Tile, grout, and labor: $1,200‑$4,000
- Fixtures & smart controls: $600‑$2,500
- Contingency (10‑15%): always set aside for the unexpected.
Keep the list in front of you when you talk to suppliers. If a quote blows past a line item, you know exactly where to negotiate or cut back. That clarity turns a vague dream into a concrete plan.
Choosing the Ideal Shower Style, Tile, and Materials
Shower Styles That Sell
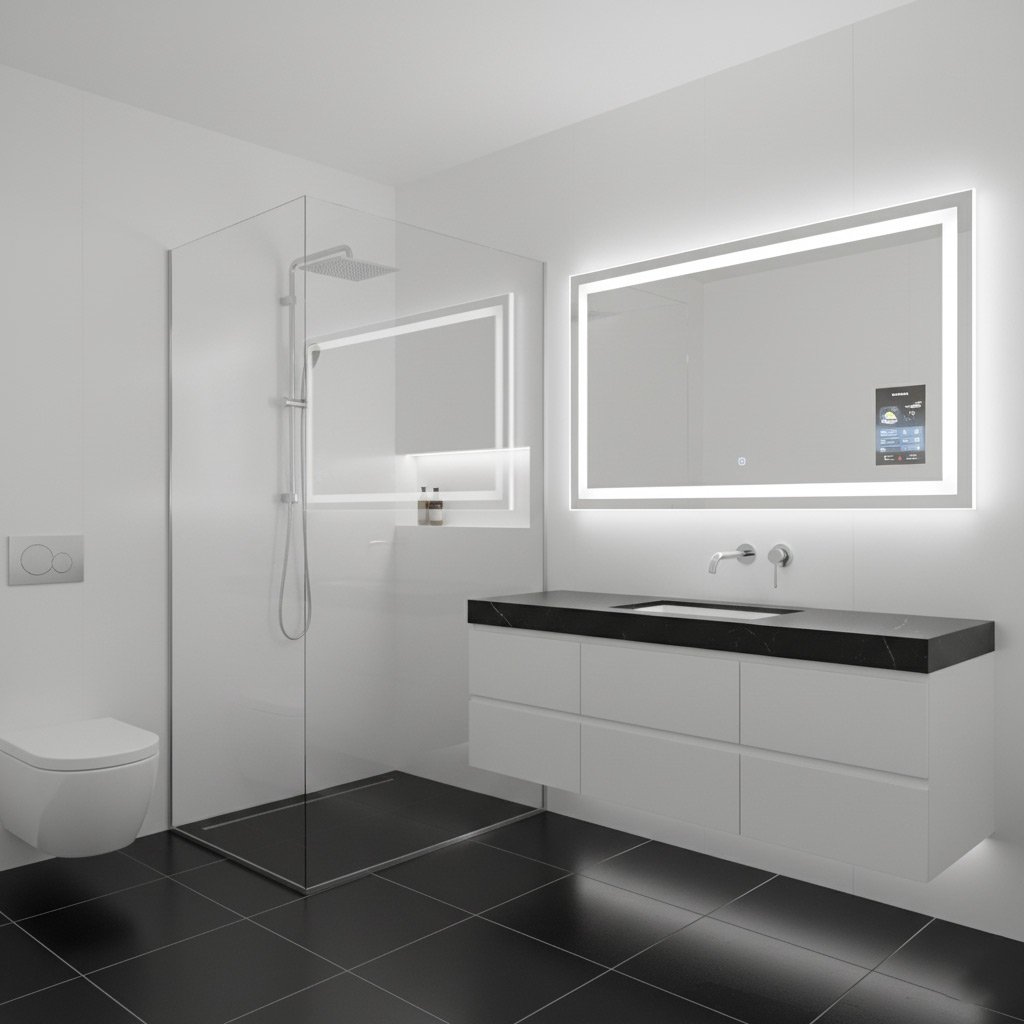
First, decide the vibe you want—spa‑like, sleek modern, or classic farmhouse. A walk‑in with a glass enclosure instantly opens up a cramped bathroom, while a curbless “shower‑tub combo” keeps the floor space usable.
Pick a style that matches the rest of your home and your resale goals. Invest in a design that feels timeless, not trendy.
- Frameless glass doors – clean look, easy to clean.
- Curbless entry – perfect for aging‑in‑place.
- Tile‑in‑the‑shower niche – adds storage without clutter.
Tile Choices That Wow
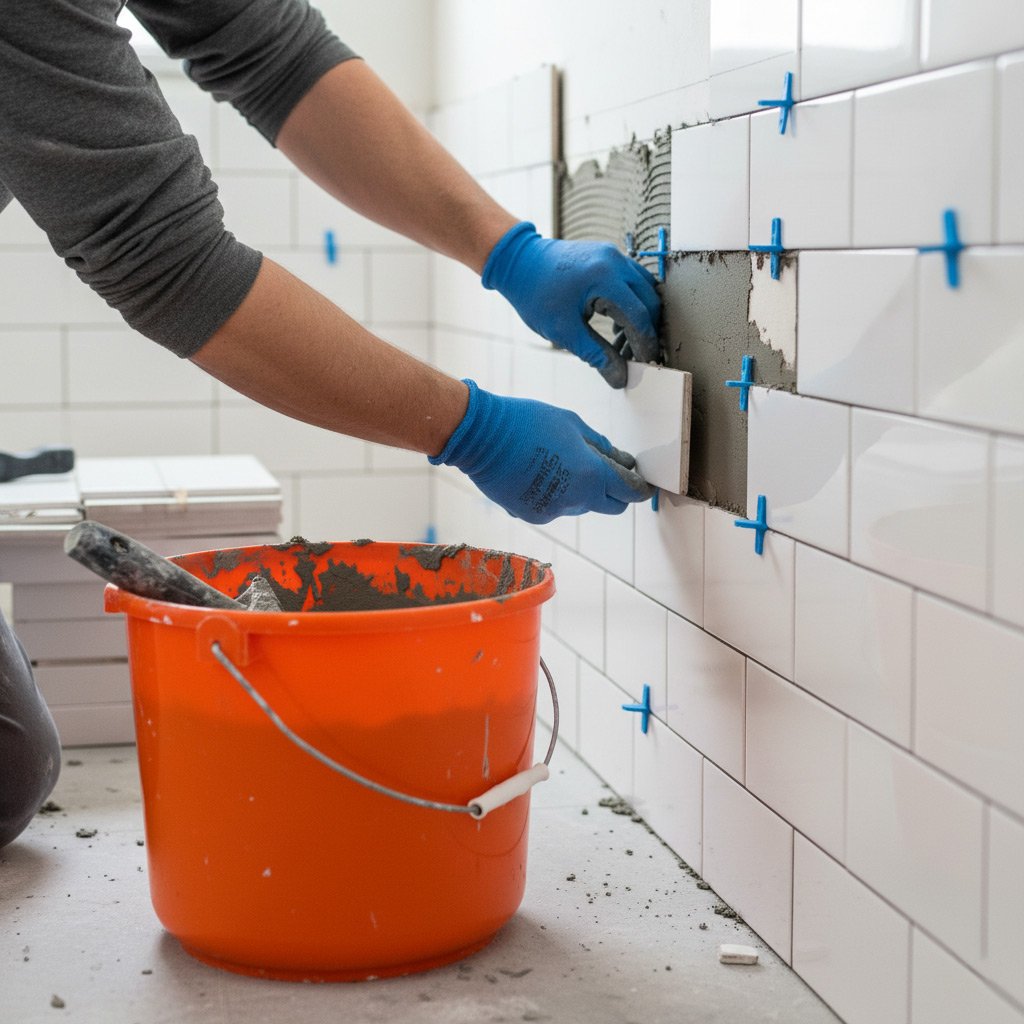
Tile is the visual heart of the shower. Large‑format porcelain looks like stone but costs less, while mosaic accents create a focal point without overwhelming the space.
Don’t forget slip resistance. Safety and style can coexist. Choose a finish that feels good underfoot when wet.
- Matte porcelain – low‑gloss, durable.
- Natural stone veneer – authentic look, seal regularly.
- Glass mosaic – pops of color, perfect for a feature wall.
Material Matters
Beyond tile, the shower pan, walls, and fixtures need the right material to survive daily use. A pre‑sloped acrylic pan is cheap and quick, but a custom‑built mortar bed with a waterproof membrane lasts decades.
When you’re budgeting, weigh upfront cost against long‑term maintenance. Quality under‑layment = fewer leaks, happier homeowners.
- Waterproof cement board – the gold standard for walls.
- Fiberglass panels – budget‑friendly, easy install.
- Stainless steel fixtures – rust‑proof, modern aesthetic.
Planning Plumbing, Waterproofing, and Drainage for Longevity
Map the Existing Infrastructure
Before you cut any pipe, trace the current water lines and note where the main shut‑off sits. A quick visual audit saves you from nasty surprises when the wall opens.
Ask yourself these three questions:
- Is the water pressure steady? Low pressure means you’ll need a booster.
- Are the supply lines copper or PEX? Different materials demand different fittings.
- Can the drain vent be extended, or does it need a fresh vent stack?
Seal the Deal
Waterproofing isn’t a “nice‑to‑have”—it’s the backbone of a leak‑free shower. Choose a membrane that can handle Simpsonville’s humidity spikes.
Key steps include:
- Apply a liquid‑applied barrier on walls and floor before tiling.
- Install a drain‑field liner that overlaps the curb by at least 2 inches.
- Seal every corner with a flexible tape; joints are the weak spots.
Drainage That Works
A properly sloped floor sends water straight to the trap, not into the subfloor. Aim for a 1/4‑inch drop per foot toward the drain.
Don’t forget these essentials:
- Use a linear drain for a sleek look and easier cleaning.
- Install a pop‑up trap that can be accessed without tearing out tile.
- Check that the vent pipe is clear; a blocked vent creates gurgling and slow drainage.
Selecting Fixtures, Controls, and Smart Shower Features
Fixture Fundamentals
Start with the basics: a sturdy showerhead, a reliable valve, and a sleek handheld. Quality brass or stainless steel will outlast cheap chrome that tarnishes in a year. Think about the flow rate—you want a rain‑like cascade without blowing your water bill.
Control Choices That Matter
Thermostatic valves keep the temperature steady, so you never get that sudden cold shock. A single‑handle mixer is simple, but a dual‑handle system gives you finer control over hot and cold. Don’t forget the diverter if you plan to switch between a tub faucet and a showerhead.
Smart Shower Add‑Ons
Modern showers can do more than just spray water. They can remember your preferred temperature, start on a timer, and even play music. Here’s a quick cheat sheet for the tech‑savvy homeowner:
- Digital thermostatic valve – set the exact degree and let the system hold it.
- Bluetooth‑enabled showerhead – stream your favorite podcast while you rinse.
- Voice‑activated controls – Alexa or Google Home can turn the water on without lifting a finger.
- Leak detection sensor – alerts your phone if a pipe drips behind the wall.
- Water‑saving flow restrictor – saves gallons without sacrificing pressure.
Hiring the Right Contractor and Managing the Installation Timeline
Know Who You're Bringing In
Start with a shortlist of local pros who specialize in bathroom remodels. Ask for at least three recent references and actually call them—listen for details about punctuality, cleanup, and how they handled surprise issues.
Check these quick checkpoints before you sign anything:
- License and insurance—no exceptions.
- Portfolio of Simpsonville projects—look for styles that match your vision.
- Written estimate broken down by labor, materials, and permits.
Lock Down the Contract
A solid contract is your safety net. It should spell out the start date, a realistic finish window, and payment milestones tied to completed work.
Include a clause for change orders—every extra tile or fixture adds cost, and you want it on paper before the crew swings a hammer.
Stay on Top of the Timeline
Good contractors give you a visual schedule. Mark key phases: demolition, waterproofing, tile lay, fixture install, and final inspection.
Assign a single point of contact—usually the project manager—to field questions and approve any adjustments. Quick approvals keep the crew moving and prevent costly downtime.
Case Study: Transforming a 1970s Simpsonville Bathroom into a Spa‑Like Retreat
The Starting Point
When we first stepped into the 1970s bathroom, the vibe was “time‑capsule” – cracked teal tiles, a rusted shower valve, and a cramped layout that left no room for a breath. The homeowner’s goal was simple: turn the eyesore into a daily escape without blowing the budget.
Our audit revealed three pain points: outdated plumbing, insufficient waterproofing, and a lack of natural light. Fix those first, and the rest of the remodel falls into place.
The Design Pivot
We swapped the old alcove for a walk‑in, glass‑enclosed shower that opened the floor plan. The new design used large, matte‑finish porcelain tiles in a soft dove gray—easy on the eyes and forgiving on the budget.
Key material choices:
- Tile: 12×12 porcelain, slip‑resistant finish.
- Shower pan: pre‑sloped acrylic, ready‑to‑install.
- Wall niche: recessed, waterproof backer board.
- Lighting: LED recessed strips with dimmer control.
We added a thermostatic valve and a handheld rain‑head. The homeowner loved the one‑touch temperature lock—no more guessing games.
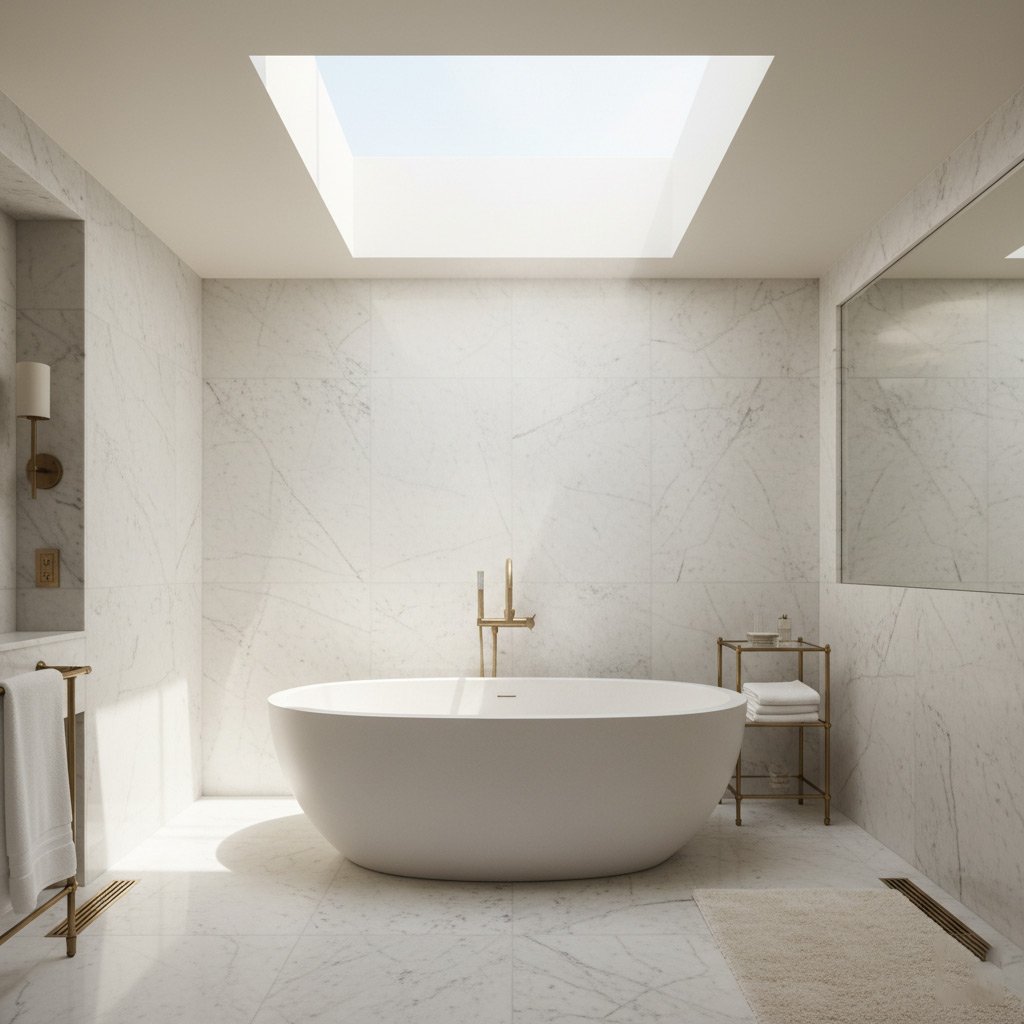
The Result
Six weeks later the bathroom looked like a boutique spa. The new shower drains in seconds, the waterproof membrane holds up under daily steam, and the homeowner reports a 30% increase in home enjoyment.
Beyond the wow factor, the remodel added measurable value. A recent appraisal pegged the home’s market price up $12,000, thanks largely to the upgraded bathroom. In short, a smart, focused renovation turned a dated space into a revenue‑boosting asset.
Final Words
Even after the tiles are set and the water runs perfectly, the job isn’t truly done until you protect your investment. A quick monthly inspection of grout, seals, and fixtures catches wear before it becomes costly repair work.
Next Steps to Keep Your Shower in Top Shape
- Wipe down glass after each use to prevent mineral buildup.
- Re‑seal tile and grout every 12‑18 months; it’s a small task that saves big money.
- Schedule a professional check‑up at least once a year—think of it as a tune‑up for your bathroom.
When you’re ready to start the next phase or need a trusted local crew, remember that New Showers specialists in Simpsonville are just a call away. They’ll keep the timeline tight, the budget honest, and the results exactly what you imagined.
People Also Ask
How do I determine the right shower size for my Simpsonville bathroom?
Measure the available floor space and consider the layout of existing fixtures. A comfortable shower width is typically 36‑48 inches, but custom sizes can fit tighter spaces. Use a tape measure and sketch to visualize the footprint before finalizing.What budget should I set for a mid‑range shower remodel in Simpsonville?
For a mid‑range project, plan on $8,000‑$12,000, which covers quality tile, a standard shower pan, and basic fixtures. Adding premium materials or smart controls can increase costs by 20‑30%. Always include a 10‑15% contingency for unexpected expenses.Do I need a licensed plumber for shower waterproofing in South Carolina?
Yes, South Carolina law requires a licensed plumber to install and inspect the waterproofing membrane and drainage system. Proper waterproofing prevents mold and protects your home’s structure. Hiring a licensed professional also ensures the work meets local building codes.What are the benefits of installing a smart shower controller?
Smart controllers let you set precise temperature presets, conserve water, and integrate with home automation systems. They can also provide usage data to help lower utility bills. Many models are compatible with voice assistants like Alexa or Google Assistant.How long does a typical shower remodel take from demolition to finish?
A standard remodel usually spans 2‑3 weeks, including demolition, plumbing adjustments, tile installation, and final fixture fitting. Complex designs or custom tile work may extend the timeline to 4‑5 weeks. Your contractor should provide a detailed schedule during the planning phase.Simpsonville Bathroom Remodel specializes in bathroom renovations, bringing over a decade of craftsmanship to homes throughout Simpsonville, South Carolina. Their team combines local knowledge with a detail‑oriented approach to deliver functional, stylish spaces that reflect each homeowner’s vision.
Need Bathroom Remodel?
We transform bathrooms into modern, functional spaces in just weeks, serving Simpsonville (29681) and nearby ZIPs 29662, 29644, 29651. Our streamlined process minimizes disruption and delivers quality results on schedule.
Get Bathroom Quote